

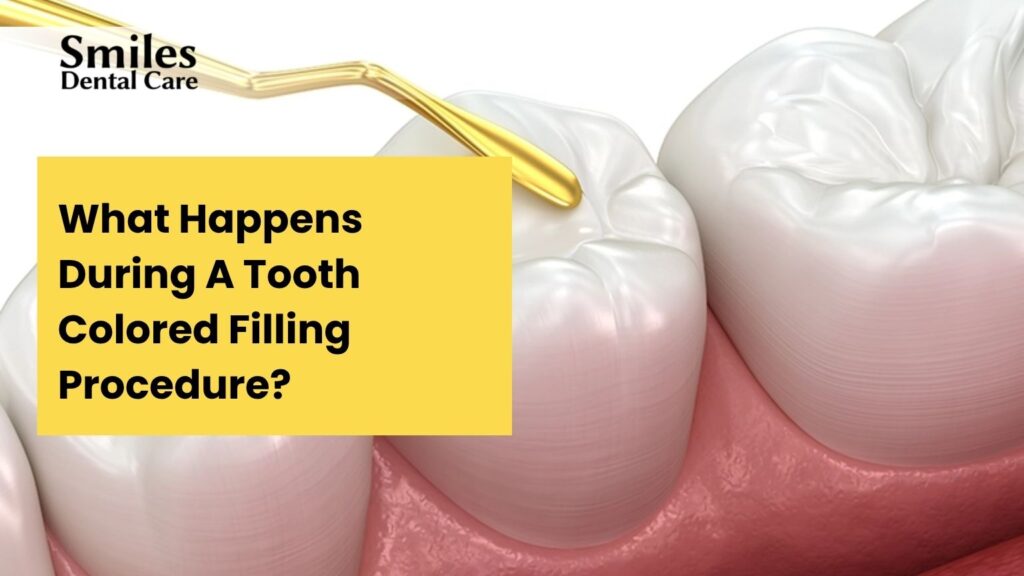
The paste your dentist uses to fill a cavity today is a genuinely clever piece of material science. It starts soft enough to sculpt, hardens on demand under a specific wavelength of light, bonds chemically to tooth structure, and ends up matching the surrounding enamel well enough to be invisible in photographs. Not approximately matching, actually matching. Shade, translucency, surface texture, everything.
That’s a tooth coloured filling, and the procedure behind it is more precise, more interesting, and more layered than most patients realize. The word “filling” makes it sound like spackling a wall. It’s considerably more sophisticated than that.
Here’s exactly what happens during the appointment, from the first visit to the final polish, and why each step matters.
First, Why Does the Cavity Need Filling At All?
Tooth decay starts with bacteria producing acid that eats through enamel. Once through the outer layer, the dental cavities progress inward, quietly, painlessly in most cases, until either a check-up catches them or they become large enough to cause symptoms.
A tooth coloured filling stops that progression entirely. The decayed tooth material is removed, the site is cleaned, and a dental composite material is placed that seals the tooth, restores its shape, and gets on with life looking like nothing happened. Cavity treatment at this stage is significantly simpler and cheaper than waiting until the damage reaches the nerve.
Step-by-Step: The Dental Filling Procedure
Step 1: Examination and Assessment
Before anything begins, the dentist examines the affected tooth, visually and with X-rays if needed. The extent of tooth decay, the depth of the dental cavities, and the condition of the surrounding enamel damage all determine how the procedure will proceed.
This step also confirms that a dental filling procedure is the appropriate treatment, rather than something more extensive like a crown or root canal.
Step 2: Anesthesia
Local anesthesia isn’t always necessary for a dental filling procedure; it depends on the depth of the tooth decay and how close the cavity is to the nerve. Small to medium dental cavities that are caught early are often treated comfortably without any injection at all.
For deeper decayed tooth situations, where the decay is closer to the nerve and sensitivity is more likely, local anesthesia is administered to keep the process comfortable. A topical numbing gel is applied first, and the injection itself is barely perceptible.
Step 3: Decay Removal
The decayed tooth material is removed using a dental drill. The dentist removes all tooth decay and any compromised enamel until only healthy tooth structure remains.
The cavity is then cleaned and prepared for the filling material. Thorough preparation at this stage is what determines how well the composite dental restoration holds up long-term.
Step 4: Shade Matching
Here’s where tooth coloured filling earns its name. Before placing the material, the dentist selects the shade of dental composite material that most closely matches your natural tooth color. In good lighting, with the right shade selected, the finished restoration is virtually undetectable.
Step 5: Bonding Agent Application
A mild acid gel is applied briefly to the prepared cavity. This etches the tooth surface microscopically, creating a better bonding surface. The acid is rinsed off, and a bonding agent is applied and light-cured. This layer is what allows the composite bonding material to adhere securely to the damaged tooth repair site.
Step 6: Composite Placement
The dental composite material is placed in layers, not all at once. Each layer is shaped and then hardened using a blue curing light that triggers the polymerization process. Layering is important: it ensures even curing throughout the filling and allows the dentist to build the tooth’s natural shape back up gradually and accurately.
This is the most detail-oriented part of a tooth colored restoration, and the part where technique makes the most visible difference in the final result.
Step 7: Shaping and Polishing
Once the composite filling is fully cured, the dentist shapes it to match the tooth’s natural contours, removing any excess and refining the edges. The bite is checked carefully: you’ll be asked to bite down on articulating paper that marks where the teeth meet, and adjustments are made until the bite feels completely natural.
Final polishing smooths the surface of the tooth coloured restoration, giving it a natural sheen that matches the surrounding enamel.
Step 8: You’re Done
The whole dental filling procedure typically takes 30–60 minutes, depending on the size and location of the cavity. One appointment, no lab work, no temporary restorations, just a completed white dental restoration ready to function immediately.
Composite vs. Other Filling Types
Tooth coloured filling materials are an excellent option, but here’s how they compare to other filling materials:
| Feature | Tooth Coloured Filling | Amalgam (Silver) | Gold |
| Appearance | Matches tooth color | Silver-grey, visible | Gold, visible |
| Bonding | Bonds directly to tooth | Mechanically retained | Mechanically retained |
| Durability | 7–10 years average | 10–15 years | 15–20+ years |
| Best for | Front teeth, visible areas | Large back tooth cavities | Long-term back tooth restoration |
| Composite bonding capability | Yes, minimal removal | No | No |
| Cost | Moderate | Lower | Higher |
Each material has genuine strengths. Composite dental restoration excels where aesthetics and tooth structure preservation matter. Other materials have legitimate clinical advantages in specific situations; the right dentist recommends the right material for the right tooth, not the most expensive one.
What Does a Tooth Colored Filling Cost in Parel?
At Smiles Dental Care in Parel, Mumbai, affordable tooth filling costs look like this:
| Cavity Size | Approximate Cost |
| Small to medium dental cavities | ₹1,000 – ₹2,500 |
| Large or deep tooth decay | ₹2,500 – ₹4,500+ |
The range reflects cavity size, the amount of dental composite material needed, and the complexity of the tooth restoration involved. An exact figure is confirmed at Smiles Dental Care before the procedure begins, no surprises.
How to Make the Filling Last
A well-placed tooth coloured filling is durable, but a few habits extend or shorten its lifespan considerably:
- Hard foods: ice, hard candy, crusty bread stress the restoration at its edges. The composite bonding interface is strong, but not invincible against repeated impact
- Oral hygiene: dental cavities can still form around filling margins if plaque is allowed to build up consistently
- Regular check-ups: margins are examined at every visit; catching early wear prevents larger damaged tooth repair later
- Staining foods: heavy tea, coffee, and wine consumption can gradually affect the shade of tooth colored restoration material over time
The Earlier, The Better
Dental cavities caught early mean smaller fillings, shorter appointments, and significantly lower cost. A small tooth coloured filling today costs a fraction of what a crown costs if the same tooth decay is left to progress to the nerve.
At Smiles Dental Care in Parel, every dental filling procedure starts with a proper assessment, understanding the full extent of the enamel damage, selecting the right shade, and placing a white dental restoration that genuinely looks like nothing was ever there.
Book your appointment at Smiles Dental Care today, because the best cavity treatment is the one nobody can see.
Frequently Asked Questions
Are tooth colored fillings safe?
Yes, composite dental restoration materials have been used safely for decades and are thoroughly tested for biocompatibility. Dental composite material contains no mercury, making tooth coloured filling a popular choice for patients with material concerns. Modern composite bonds directly to tooth restoration sites without requiring removal of excess healthy tooth structure, a meaningful advantage over older mechanical retention methods.
How long does a tooth colored filling last?
A well-placed tooth coloured filling typically lasts 7–10 years, sometimes longer, with consistent oral hygiene and regular check-ups. Composite bonding longevity depends on cavity size, location, and habits like grinding or biting hard foods. Back teeth fillings experience significantly more chewing force than front tooth cosmetic tooth filling restorations, and may show wear earlier.
Can I eat after tooth filling?
Yes, dental composite material is fully hardened by the curing light during the procedure, so eating is possible almost immediately. Avoid very hard or chewy foods on the treated side for the first 24 hours. If cavity treatment involved deeper work near the nerve, mild sensitivity to temperature for a few days is completely normal and settles on its own.
What foods damage fillings?
Very hard foods stress white dental restoration margins and can cause chipping over time. Sticky foods can pull at restoration edges. Heavily pigmented drinks consumed frequently can gradually stain the tooth colored restoration material. None of these are strict prohibitions; moderation and common sense go a long way toward protecting an affordable tooth filling investment.
How many days should I rest after tooth filling?
None. A standard dental filling procedure for dental cavities is a same-day and outpatient procedure. Most patients return to normal activity immediately. Mild sensitivity for 1–3 days after damaged tooth repair involving deeper cavities is normal and resolves without intervention. Significant or worsening pain after a week is worth a follow-up at Smiles Dental Care.